Affiliate Disclosure: We use affiliate links to earn commissions from qualifying purchases. This helps us test more products and keep our content free. Full disclosure policy.
Grillaholics Burger Press Review: 3-Month Keto Test
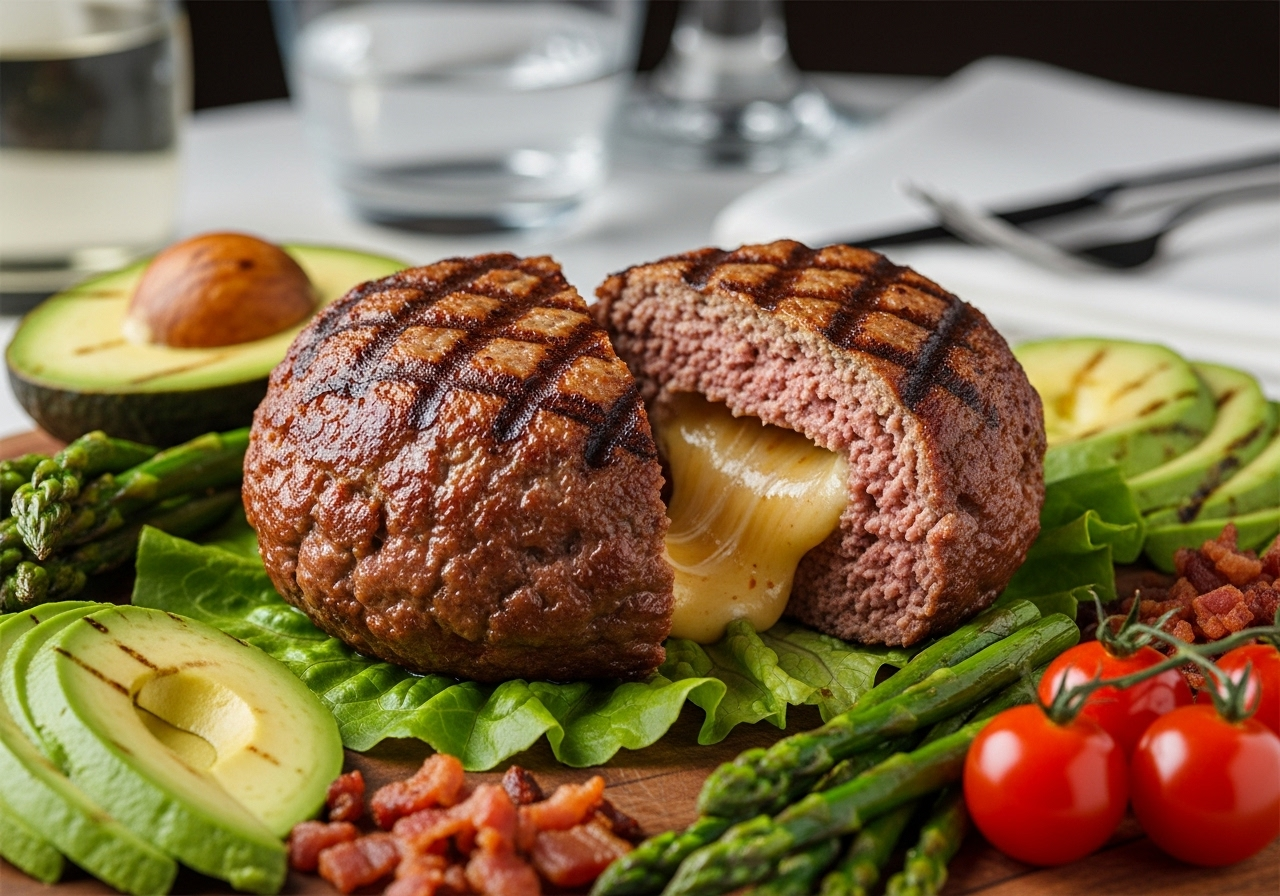
Review Summary
I've been stuffing burgers with this heavy-duty plastic press for three months straight—here's everything I learned about cheese-stuffed, jalapeño-loaded, and bacon-wrapped creations that'll make you forget buns ever existed.
I’ll be honest—when I first saw the Grillaholics Stuffed Burger Press, I thought it was just another gimmicky kitchen gadget destined for the back of my drawer. Boy, was I wrong. After three months of serious testing (and probably 50+ stuffed burgers), this little BPA-free plastic tool has completely changed how I think about keto-friendly burgers.
The whole reason I picked this up was simple: I was tired of boring ground beef patties. Sure, they’re keto-friendly, but after months of plain burgers over salad, I was craving something with more excitement. This press promised to let me stuff cheese, jalapeños, even bacon right into the center of my patties. Spoiler alert: it delivers on that promise, but there’s definitely a learning curve.
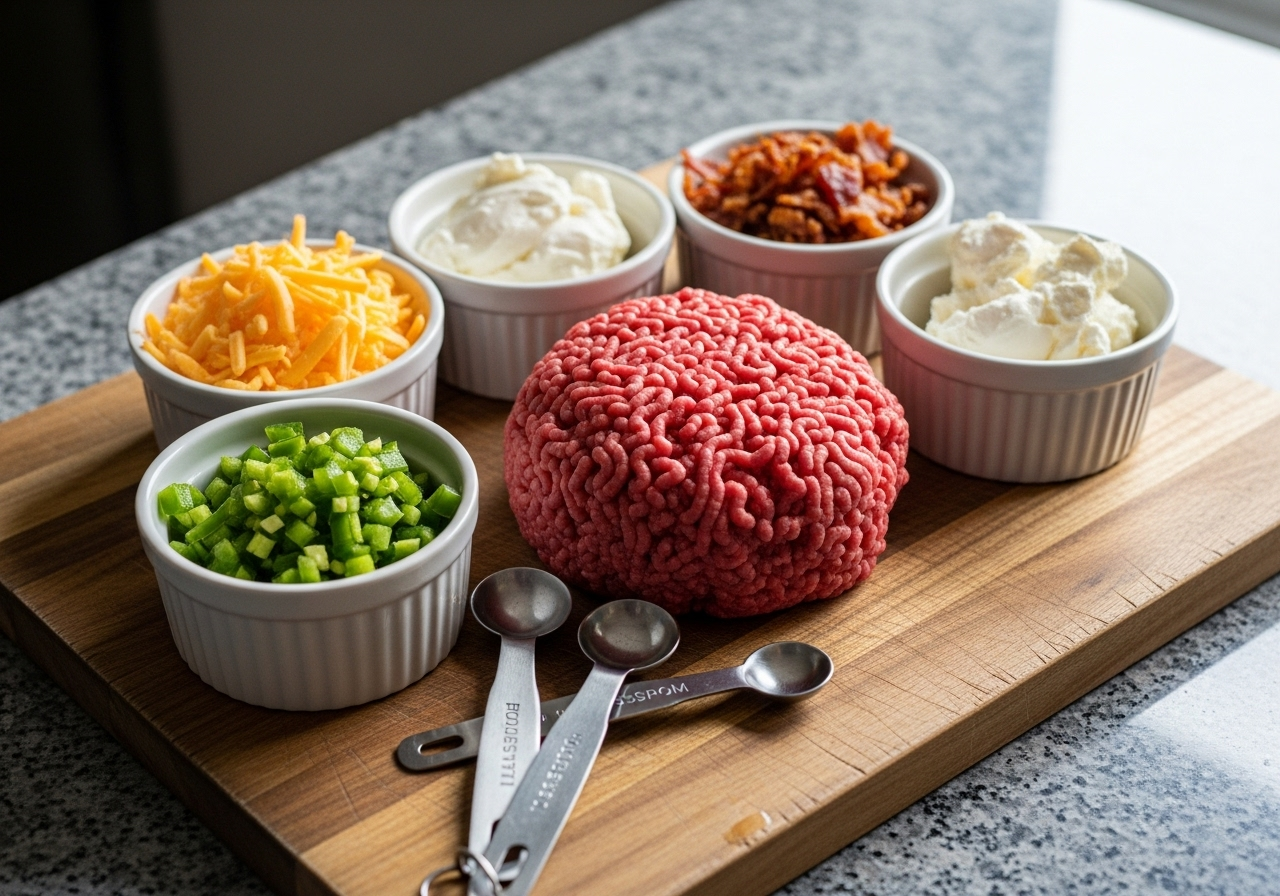
What you get in the box
Right out of the gate, this isn’t some flimsy kitchen gadget. The Grillaholics press is made from heavy-duty, BPA-free plastic—it’s got some weight to it and feels like it could survive my kitchen’s chaos (and trust me, that’s saying something). You get the two-piece press system plus a little recipe booklet that I initially rolled my eyes at but ended up being surprisingly useful.
The design is dead simple: a bottom piece that holds your meat, and a top piece that presses down to form the pocket. There’s a raised center section that creates the stuffing cavity, and the edges are designed to seal everything together. It’s engineered to handle quarter-pound patties, which is perfect for my keto portions.
My first attempts (spoiler: they were disasters)
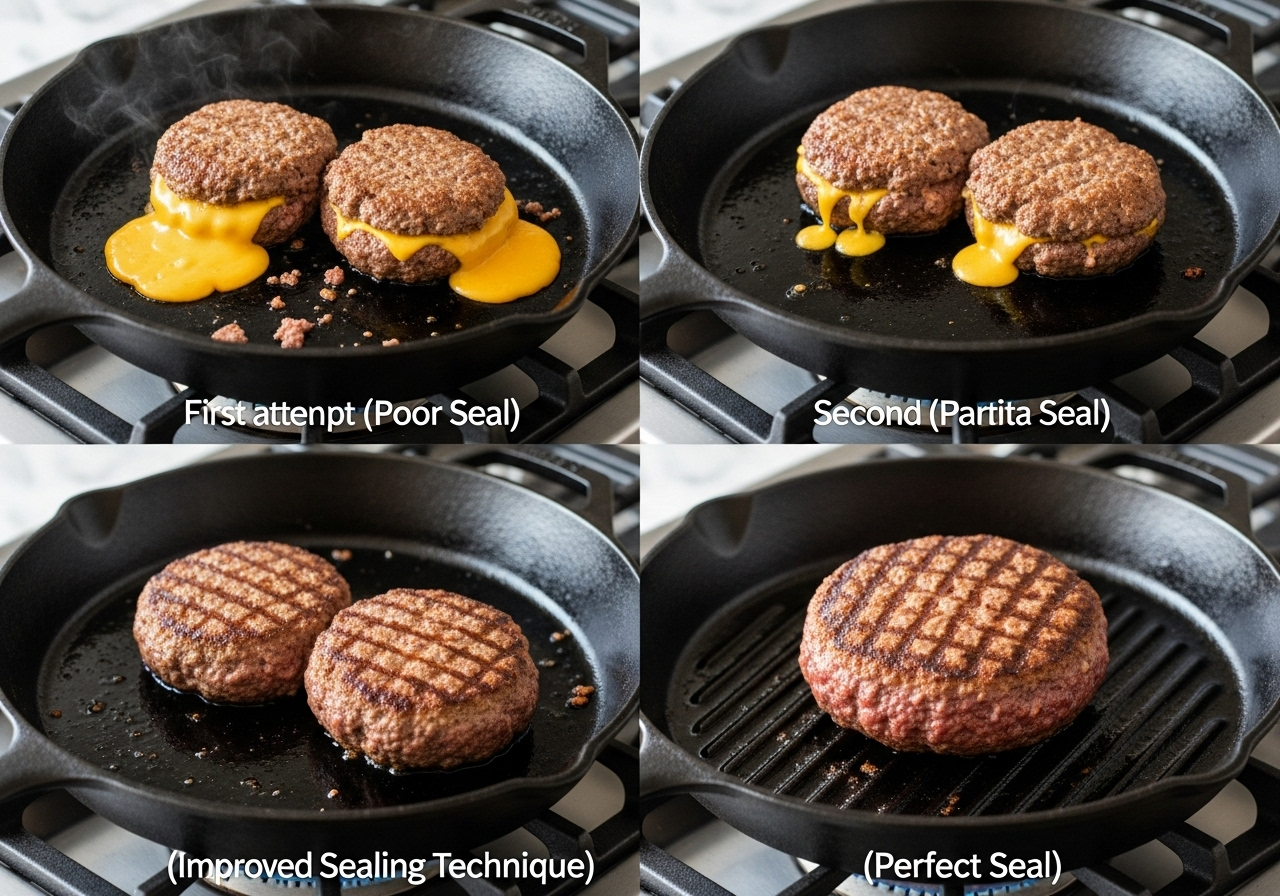
Let me save you some frustration by sharing my early mistakes. My first stuffed burger was an absolute mess—cheese leaked everywhere, the patty fell apart, and I ended up with what looked like a ground beef explosion on my grill.
Mistake #1: Using too much filling. I got greedy with the cheese. The press can only handle about a tablespoon of filling max—any more and it won’t seal properly.
Mistake #2: Wrong meat consistency. I was using 93/7 lean ground beef, which doesn’t hold together well enough for stuffing. Switched to 80/20 and everything changed.
Mistake #3: Not chilling the patties. Room temperature stuffed patties fall apart on the grill. Twenty minutes in the fridge makes all the difference.
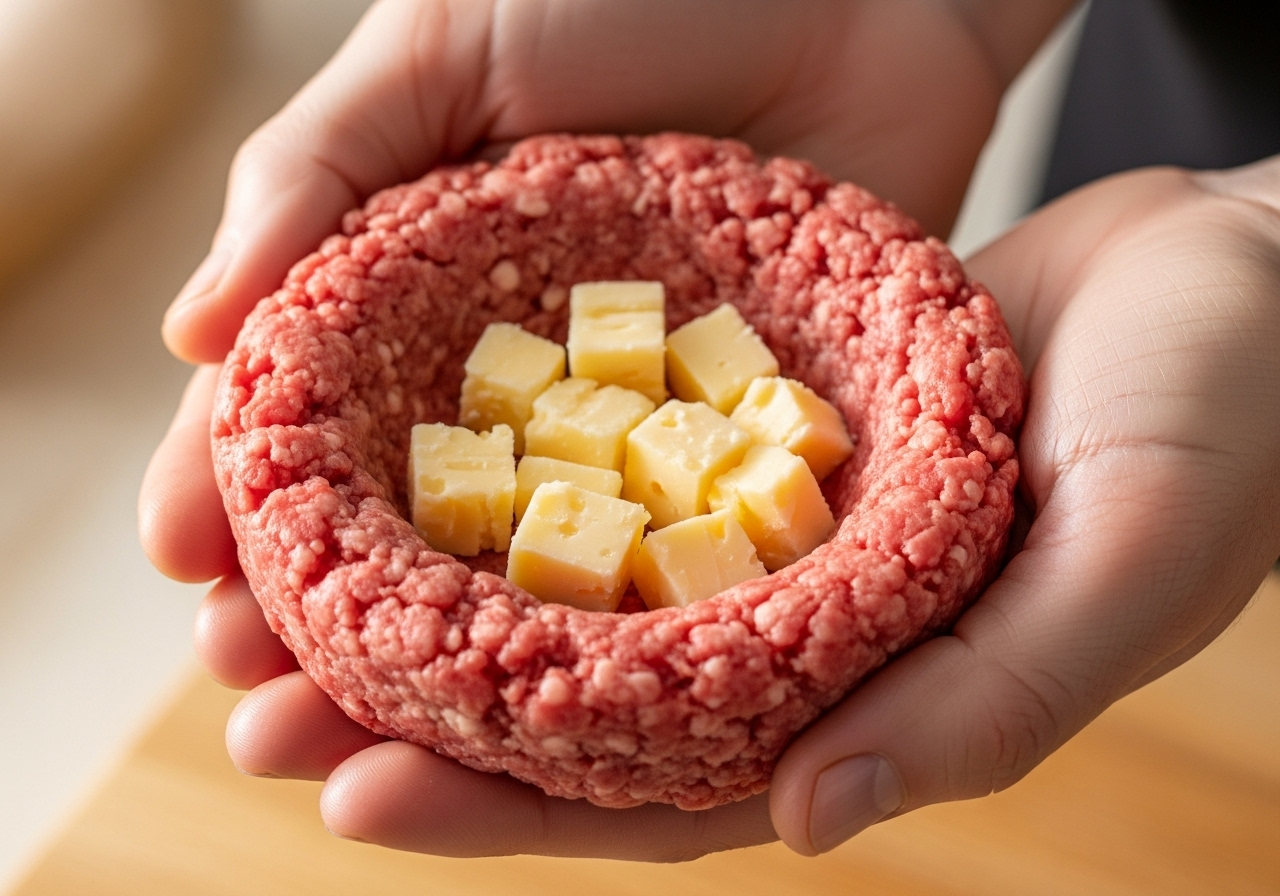
The technique that actually works
After weeks of trial and error, here’s my foolproof method:
Step 1: Prep your filling first. I learned to have everything ready before touching the meat. Shredded cheese, diced jalapeños, crumbled bacon—whatever you’re stuffing needs to be prepped and measured.
Step 2: Use the right meat ratio. 80/20 ground beef is the sweet spot. 85/15 works okay, but anything leaner just doesn’t hold together. I’ve also had great success with ground turkey (85/15) and ground lamb.
Step 3: Work cold and fast. Keep your meat cold until you’re ready to form patties. Warm hands + warm meat = sticky mess that won’t cooperate with the press.
Step 4: The pressing technique. Place about 3 oz of meat in the bottom, add your tablespoon of filling, then top with another 2 oz of meat. Press firmly but don’t go crazy—you want to seal it, not compact it into a hockey puck.
Step 5: Chill before cooking. This is non-negotiable. Twenty minutes in the fridge lets everything firm up so it holds together on the grill.
My go-to stuffed burger recipes
After three months of experimentation, these are the combinations that consistently work and taste incredible:
Recipe Success Tips
Each recipe below uses exactly 1 tablespoon of filling and follows my 5-step technique. Start with the Classic Cheese Bomb—it’s the most forgiving for beginners.
The Classic Cheese Bomb
Filling: Sharp cheddar + a tiny pinch of garlic powder Cooking method: Medium-high grill, 5 minutes per side Why it works: The sharp cheddar melts perfectly without becoming greasy, and the garlic powder adds just enough flavor without overpowering.
Jalapeño Popper Style
Filling: Cream cheese + diced jalapeños + bacon bits Cooking method: Medium heat, 6 minutes per side (slower for the cream cheese) Why it works: This is basically a jalapeño popper in burger form. The cream cheese stays creamy, the jalapeños add heat, and the bacon provides crunch.
Pizza Burger (My Personal Favorite)
Filling: Mozzarella + pepperoni pieces + Italian seasoning Cooking method: Medium-high grill, 5 minutes per side Why it works: It tastes like a pizza without the carbs. I serve this over marinara sauce with a side salad, and it’s honestly better than most pizza I’ve had.
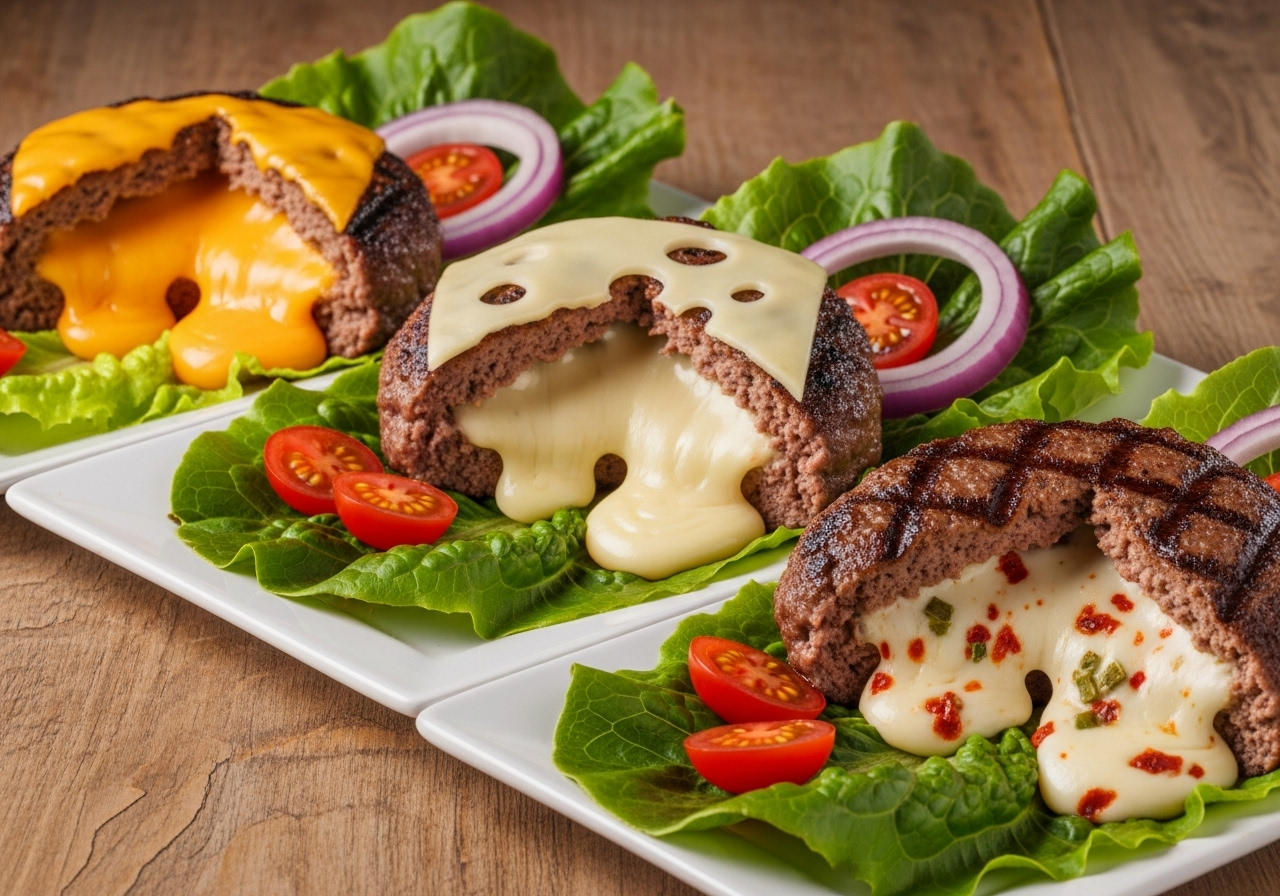
Real-world performance after 3 months
Here’s what I’ve learned about this tool after putting it through serious testing:
Cleanup is actually easy. Despite my initial concerns about cheese getting stuck in the grooves, cleanup takes about 30 seconds. A quick rinse with hot soapy water, maybe a gentle scrub with a brush, and you’re done. It’s dishwasher safe too, though I usually just hand wash it.
It’s more versatile than I expected. I’ve successfully made stuffed turkey burgers, lamb burgers, and even stuffed chicken patties. The key is adjusting your cooking method based on the protein—turkey and chicken need lower heat and longer cooking times.
The learning curve is real but short. My first five attempts were disasters, but by burger #10, I had the technique down. Now I can pump out perfect stuffed patties faster than regular burgers.
Quality control matters. Not every patty comes out perfect, even with experience. I’d say about 85% of my stuffed burgers turn out exactly as intended, with the occasional seal failure or uneven stuffing distribution.
Pro Tip from 3 Months of Use
Make extra patties and freeze them. I’ve found that stuffed patties freeze beautifully—just wrap them individually in parchment paper. You can go straight from freezer to grill, just add a couple extra minutes to the cooking time.
What I love about this thing
It actually works as advertised. This isn’t some “as seen on TV” disappointment. When you follow the technique, it creates legitimate stuffed burgers with gooey centers that stay put during cooking.
Perfect portion control. The quarter-pound capacity is ideal for keto meals. It’s substantial enough to be satisfying but not so big that you’re overwhelmed.
Durability is impressive. After three months of regular use (and a few accidental drops), this thing still looks and works like new. The heavy-duty plastic construction really does hold up.
Storage is simple. It’s compact enough to fit in a kitchen drawer without taking up much space. No weird shapes or attachments to keep track of.
What drives me crazy
The learning curve is steeper than they let on. The included recipe booklet makes it look foolproof, but reality is messier. Expect some failures while you figure out your technique.
Limited capacity. You can only make one patty at a time, which is fine for small batches but annoying when cooking for a crowd. I’ve been tempted to buy a second one just for efficiency.
Filling limitations. Wet fillings (like fresh tomatoes or pickles) don’t work well. You’re limited to things that won’t make the meat soggy or prevent proper sealing.
Not great for thin patties. If you prefer thinner burgers, this tool isn’t for you. The stuffed patties come out thick by design, which means longer cooking times.
How it compares to alternatives
Vs. DIY hand-forming method: I tried making stuffed burgers by hand before getting this press. The hand method works occasionally, but the seal is unreliable and the shape is inconsistent. The press gives you professional-looking results every time.
Vs. other burger presses: I looked at several cheaper alternatives on Amazon. Most had terrible reviews about breaking after a few uses. The heavy-duty construction here is worth the extra cost.
Vs. just adding toppings after cooking: Obviously, stuffed burgers require more effort than just melting cheese on top. But the experience is completely different—every bite has filling throughout, not just on the surface.
Different proteins I’ve tested
Ground beef (80/20): The gold standard. Forms well, seals easily, cooks perfectly.
Ground turkey (85/15): Works great but needs lower cooking temperature and longer time. Don’t go leaner than 85/15 or it falls apart.
Ground lamb: Excellent results. The higher fat content makes it very forgiving to work with. Pairs amazingly with feta and herbs.
Ground chicken: Tricky but doable. Needs to be at least 85/15 fat content and requires gentle handling. Cook on medium-low heat.
Ground pork: I tried this once with good results, but the flavor was too rich for my taste when combined with cheese fillings.
Ready to upgrade your burger game? This heavy-duty plastic press has transformed my keto dinners from boring to restaurant-quality.
Check Current PriceMy verdict after 3 months
Look, I’m not going to sugarcoat this—the Grillaholics Stuffed Burger Press isn’t essential kitchen equipment. You can live without it. But if you’re on keto and tired of plain burgers, or if you love experimenting with food, this tool adds a legitimate new dimension to your cooking.
The learning curve is real, and you’ll waste some meat figuring it out. But once you dial in the technique, it consistently produces restaurant-quality stuffed burgers that would cost $15+ at a burger joint. For someone eating keto long-term, that variety and excitement is worth the $25 investment.
Rating: 4.2/5 stars
I’d buy it again, and I’d recommend it to fellow keto dieters who want to shake up their dinner routine. Just be prepared to practice a bit before you master it.
Frequently asked questions
Can you make multiple patties at once? No, it’s one patty at a time. This is probably my biggest complaint—it takes forever when cooking for more than two people.
What’s the maximum filling amount? About one tablespoon max. Any more and it won’t seal properly. I learned this the messy way.
Can you use frozen ground meat? Absolutely not. The meat needs to be cold but pliable. Frozen meat won’t form or seal properly.
How thick do the patties end up? About 1 inch thick when pressed. They’re substantial burgers, not thin fast-food style patties.
Is it really dishwasher safe? Yes, but I hand wash mine anyway. Takes 30 seconds and I don’t have to wait for a dishwasher cycle.
Can you prep patties ahead of time? Yes! I make a bunch on Sunday and freeze them individually. They keep for about 3 months frozen.
Interested in this product?
Check out our full product details and current pricing.
View Product Details